Bonjour à tous
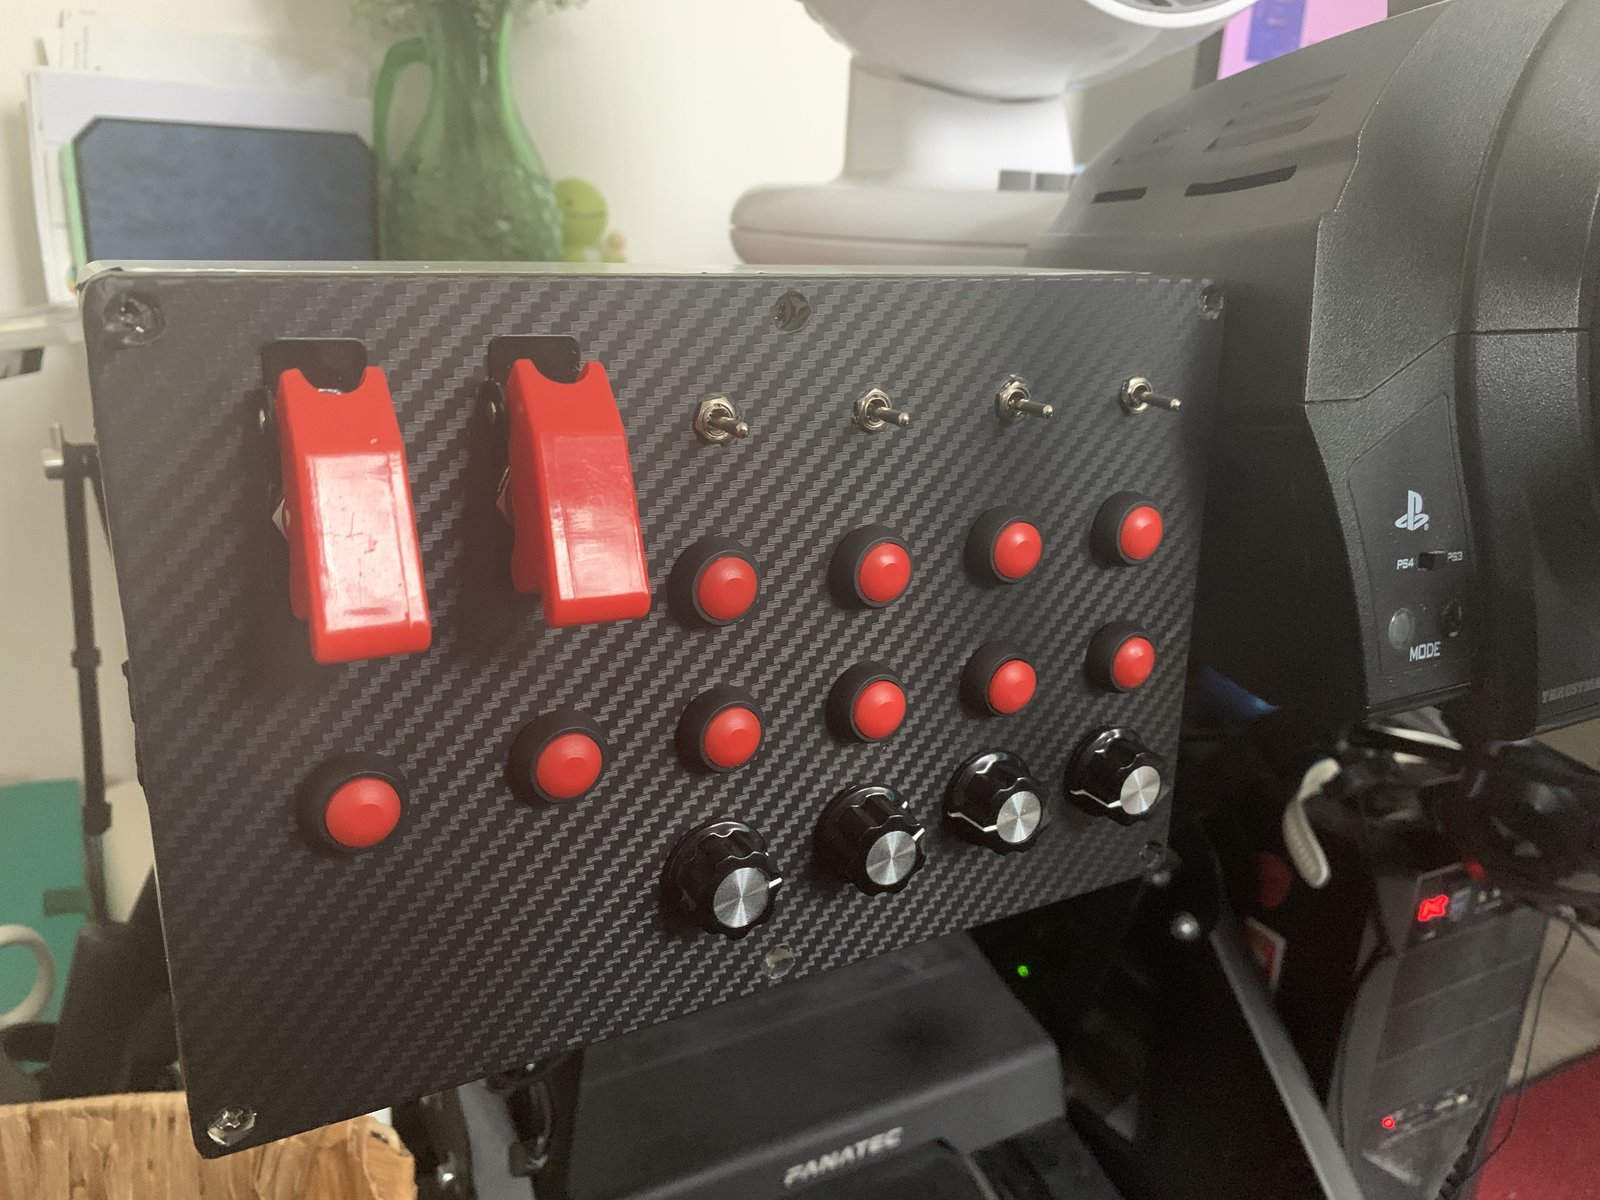
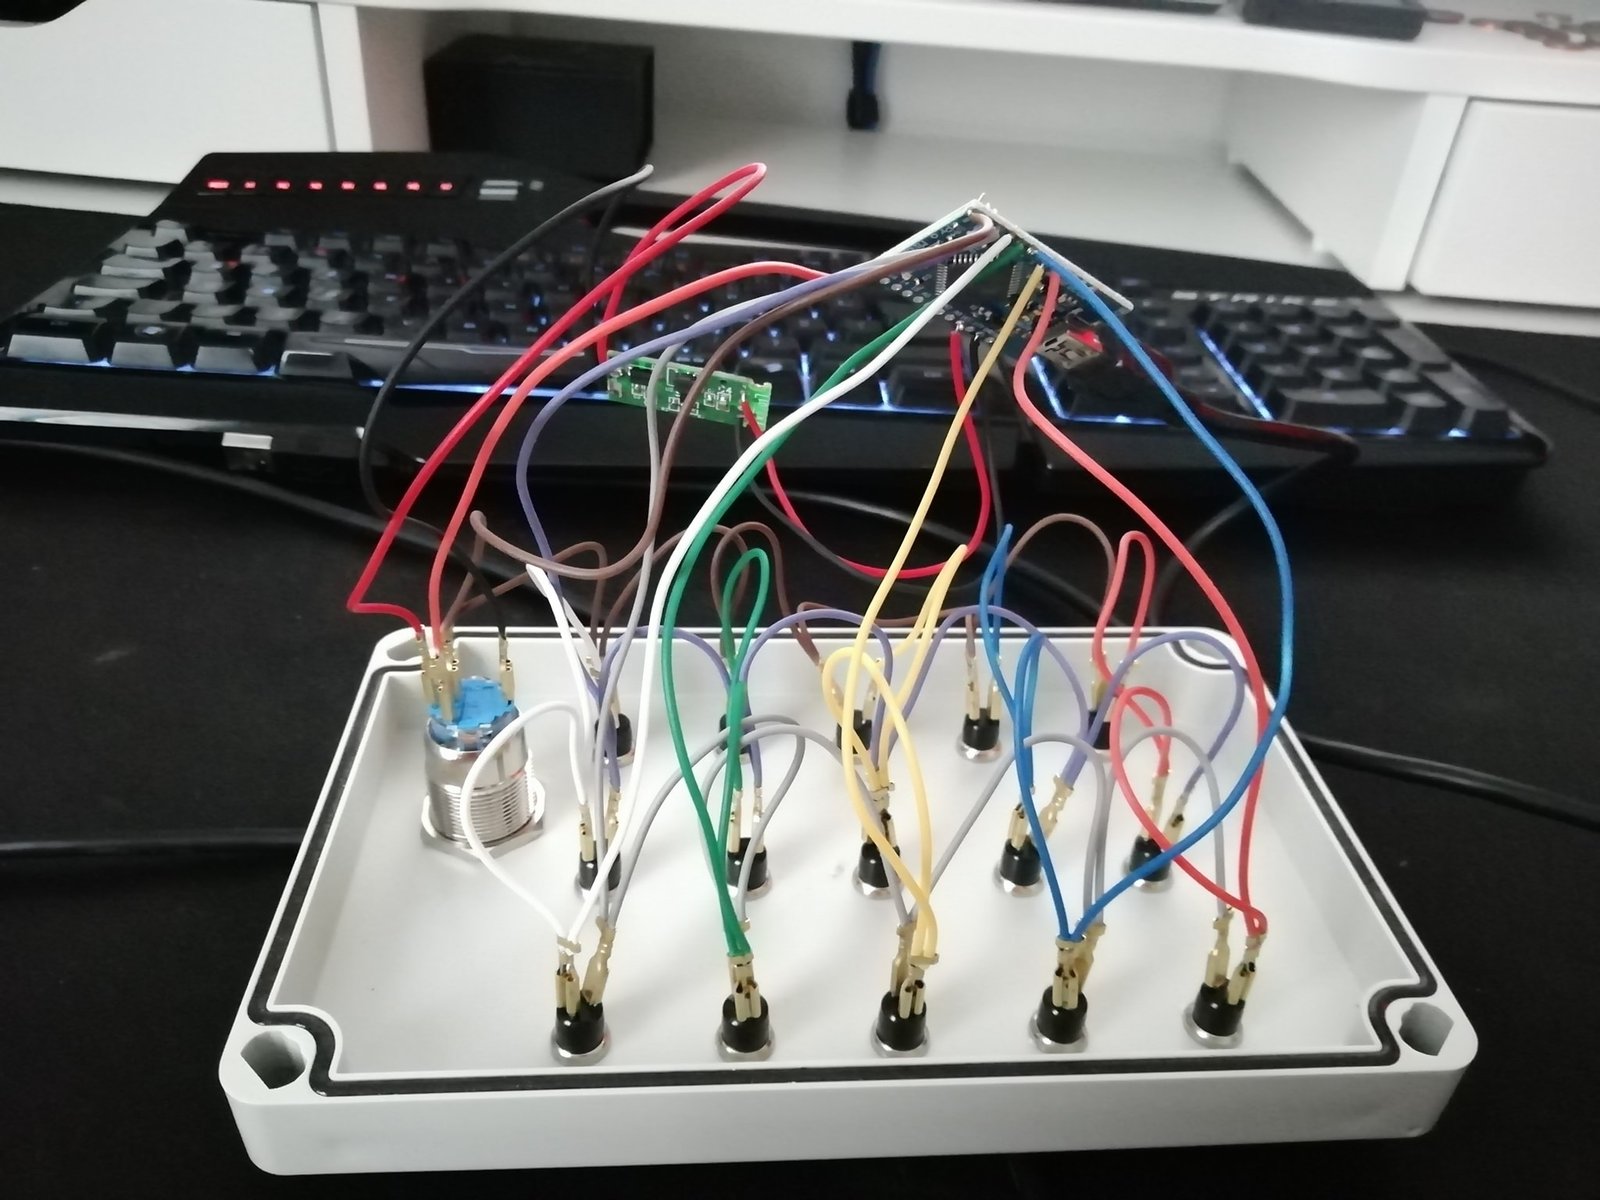
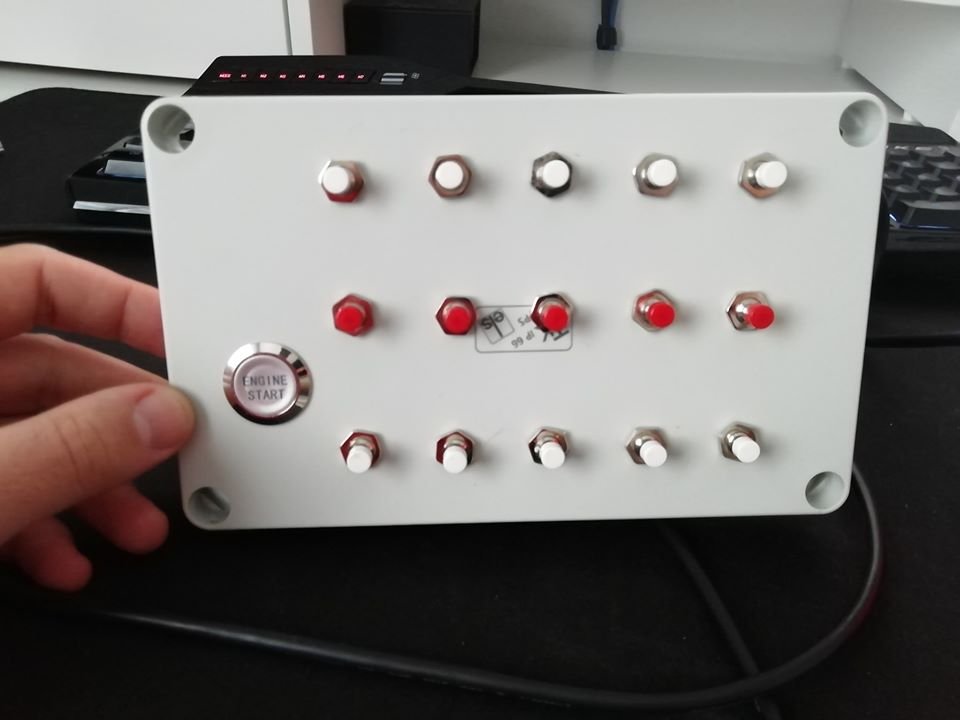
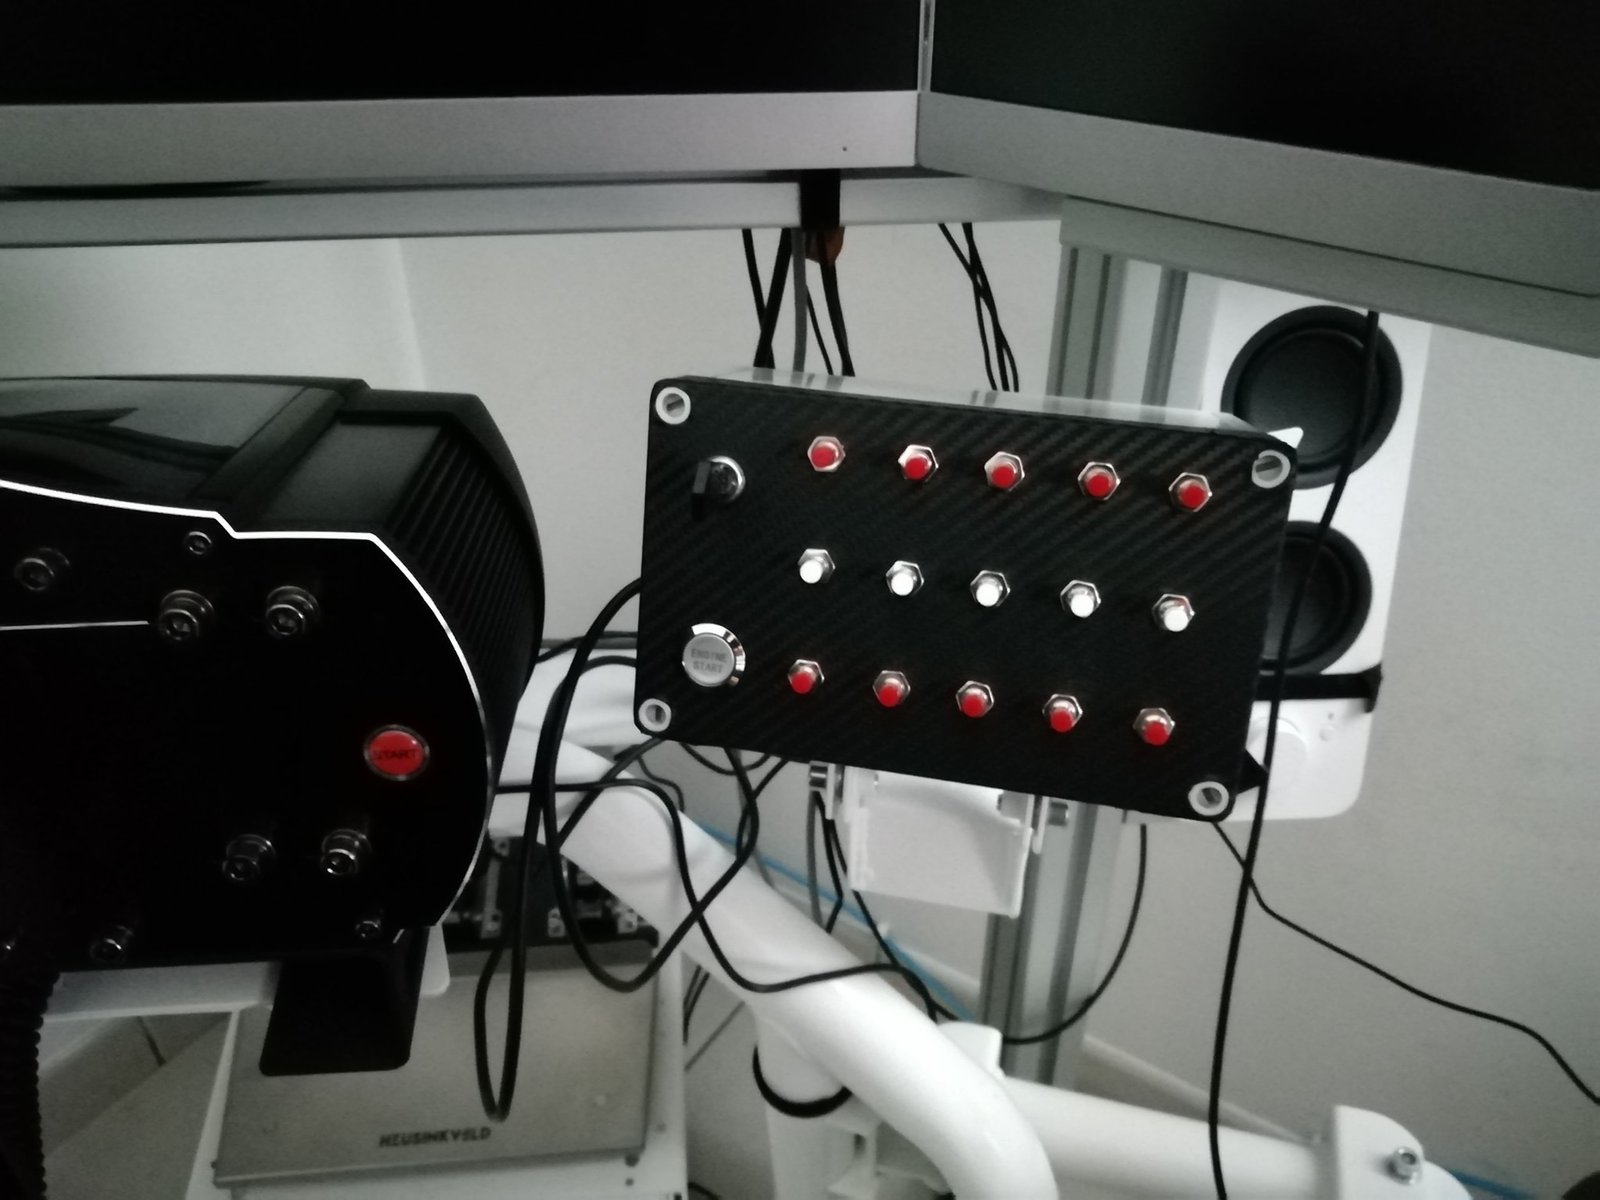
j'ai voulu faire une button box en suivant cette vidéo
edit RacingMat : voici les liens remontés dans le 1er post !
https://www.instructables.com/id/Sim-Racing-Button-Box/
code AM-studio (qui corrige les manques du code ci-dessus)
https://github.com/AM-STUDIO/32-F…UTTON_BOXV2.ino
nécessite l'installation des bibliothèques <Keypad.h> <Joystick.h>
code de zbth pour gérer le son de Windows avec un encodeur rotatif :
https://github.com/cazeaux/buttonbox
nécessite l'installation des bibliothèques <Keypad.h> <Arduino.h> et <HID-Project.h>
pour approvisionner des boîtiers :
https://www.gotronic.fr/cat-boitiers-b…isserie-679.htm
https://www.ebay.fr/itm/302173593390 "ABS project box" 11€
https://www.amazon.fr/gp/product/B07NVK538F/ 19€
https://www.aliexpress.com/wholesale?Sear…abs+project+box
//////////////////////////////////////////////////////////
question câblage pas de problème mais je pèche un peu en programmation et le code fournit avec la vidéo indique une erreur avant de l'envoyer dans la carte.
un message plus ancien sur le site traite du sujet mais cela n'a pas résolu le problème.
si vous avez des idées merci (je vous mais le code et la ligne qui pose problème).
#include <Keypad.h>
#include <Joystick.h>
#define ENABLE_PULLUPS
#define NUMROTARIES 4
#define NUMBUTTONS 24
#define NUMROWS 5
#define NUMCOLS 5
byte buttons[NUMROWS][NUMCOLS] = {
{0,1,2,3,4},
{5,6,7,8,9},
{10,11,12,13,14},
{15,16,17,18,19},
{20,21,22,23},
};
struct rotariesdef {
byte pin1;
byte pin2;
int ccwchar;
int cwchar;
volatile unsigned char state;
};
rotariesdef rotaries[NUMROTARIES] {
{0,1,24,25,0},
{2,3,26,27,0},
{4,5,28,29,0},
{6,7,30,31,0},
};
#define DIR_CCW 0x10
#define DIR_CW 0x20
#define R_START 0x0
#ifdef HALF_STEP
#define R_CCW_BEGIN 0x1
#define R_CW_BEGIN 0x2
#define R_START_M 0x3
#define R_CW_BEGIN_M 0x4
#define R_CCW_BEGIN_M 0x5
const unsigned char ttable[6][4] = {
// R_START (00)
{R_START_M, R_CW_BEGIN, R_CCW_BEGIN, R_START},
// R_CCW_BEGIN
{R_START_M | DIR_CCW, R_START, R_CCW_BEGIN, R_START},
// R_CW_BEGIN
{R_START_M | DIR_CW, R_CW_BEGIN, R_START, R_START},
// R_START_M (11)
{R_START_M, R_CCW_BEGIN_M, R_CW_BEGIN_M, R_START},
// R_CW_BEGIN_M
{R_START_M, R_START_M, R_CW_BEGIN_M, R_START | DIR_CW},
// R_CCW_BEGIN_M
{R_START_M, R_CCW_BEGIN_M, R_START_M, R_START | DIR_CCW},
};
#else
#define R_CW_FINAL 0x1
#define R_CW_BEGIN 0x2
#define R_CW_NEXT 0x3
#define R_CCW_BEGIN 0x4
#define R_CCW_FINAL 0x5
#define R_CCW_NEXT 0x6
const unsigned char ttable[7][4] = {
// R_START
{R_START, R_CW_BEGIN, R_CCW_BEGIN, R_START},
// R_CW_FINAL
{R_CW_NEXT, R_START, R_CW_FINAL, R_START | DIR_CW},
// R_CW_BEGIN
{R_CW_NEXT, R_CW_BEGIN, R_START, R_START},
// R_CW_NEXT
{R_CW_NEXT, R_CW_BEGIN, R_CW_FINAL, R_START},
// R_CCW_BEGIN
{R_CCW_NEXT, R_START, R_CCW_BEGIN, R_START},
// R_CCW_FINAL
{R_CCW_NEXT, R_CCW_FINAL, R_START, R_START | DIR_CCW},
// R_CCW_NEXT
{R_CCW_NEXT, R_CCW_FINAL, R_CCW_BEGIN, R_START},
};
#endif
byte rowPins[NUMROWS] = {21,20,19,18,15};
byte colPins[NUMCOLS] = {14,16,10,9,8};
Keypad buttbx = Keypad( makeKeymap(buttons), rowPins, colPins, NUMROWS, NUMCOLS);
Joystick_Joystick(JOYSTICK_DEFAULT_REPORT_ID,
JOYSTICK_TYPE_JOYSTICK, 32, 0,
false, false, false, false, false, false,
false, false, false, false, false);
void setup() {
Joystick.begin();
rotary_init();}
void loop() {
CheckAllEncoders();
CheckAllButtons();
}
void CheckAllButtons(void) {
if (buttbx.getKeys())
{
for (int i=0; i<LIST_MAX; i++)
{
if ( buttbx.key[i].stateChanged )
{
switch (buttbx.key[i].kstate) {
case PRESSED:
case HOLD:
Joystick.setButton(buttbx.key[i].kchar, 1);
break;
case RELEASED:
case IDLE:
Joystick.setButton(buttbx.key[i].kchar, 0);
break;
}
}
}
}
}
void rotary_init() {
for (int i=0;i<NUMROTARIES;i++) {
pinMode(rotaries[i].pin1, INPUT);
pinMode(rotaries[i].pin2, INPUT);
#ifdef ENABLE_PULLUPS
digitalWrite(rotaries[i].pin1, HIGH);
digitalWrite(rotaries[i].pin2, HIGH);
#endif
}
}
unsigned char rotary_process(int _i) {
unsigned char pinstate = (digitalRead(rotaries[_i].pin2) << 1) | digitalRead(rotaries[_i].pin1);
rotaries[_i].state = ttable[rotaries[_i].state & 0xf][pinstate];
return (rotaries[_i].state & 0x30);
}
void CheckAllEncoders(void) {
for (int i=0;i<NUMROTARIES;i++) {
unsigned char result = rotary_process(i);
if (result == DIR_CCW) {
Joystick.setButton(rotaries[i].ccwchar, 1); delay(50); Joystick.setButton(rotaries[i].ccwchar, 0);
};
if (result == DIR_CW) {
Joystick.setButton(rotaries[i].cwchar, 1); delay(50); Joystick.setButton(rotaries[i].cwchar, 0);
};
}


