DIY - steering wheel: OMP 310 ALU GT

  • Hi guys,

    Building something for myself.

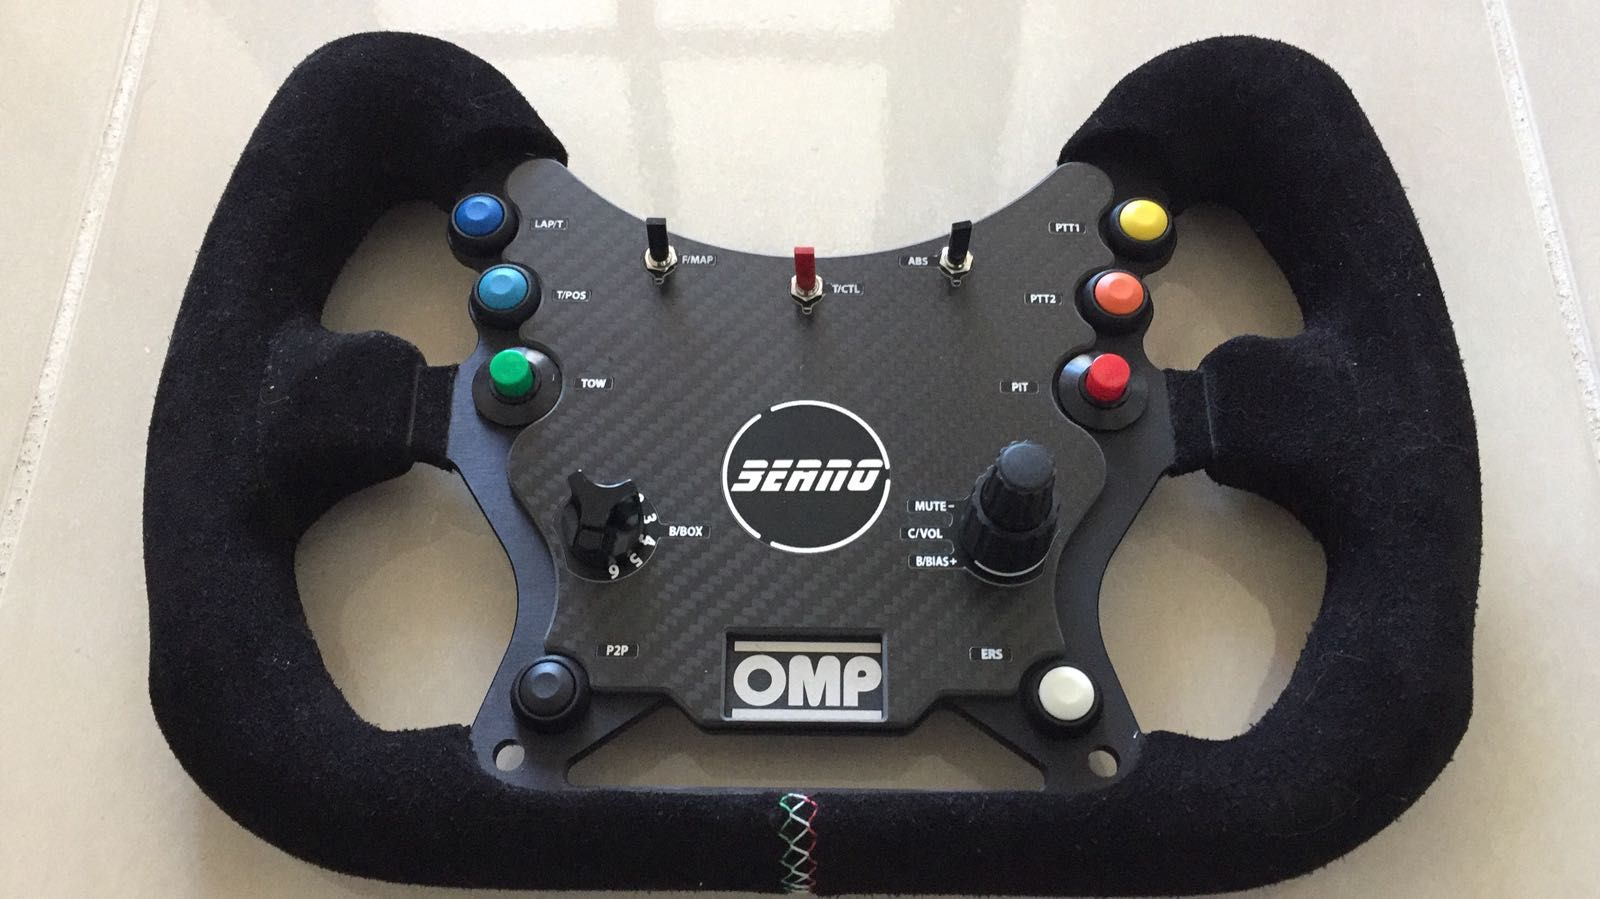
    Here is the candidate, you might agree on the looks, the Rex of wheels, I guess (stock photo downloaded from the Interwebs)


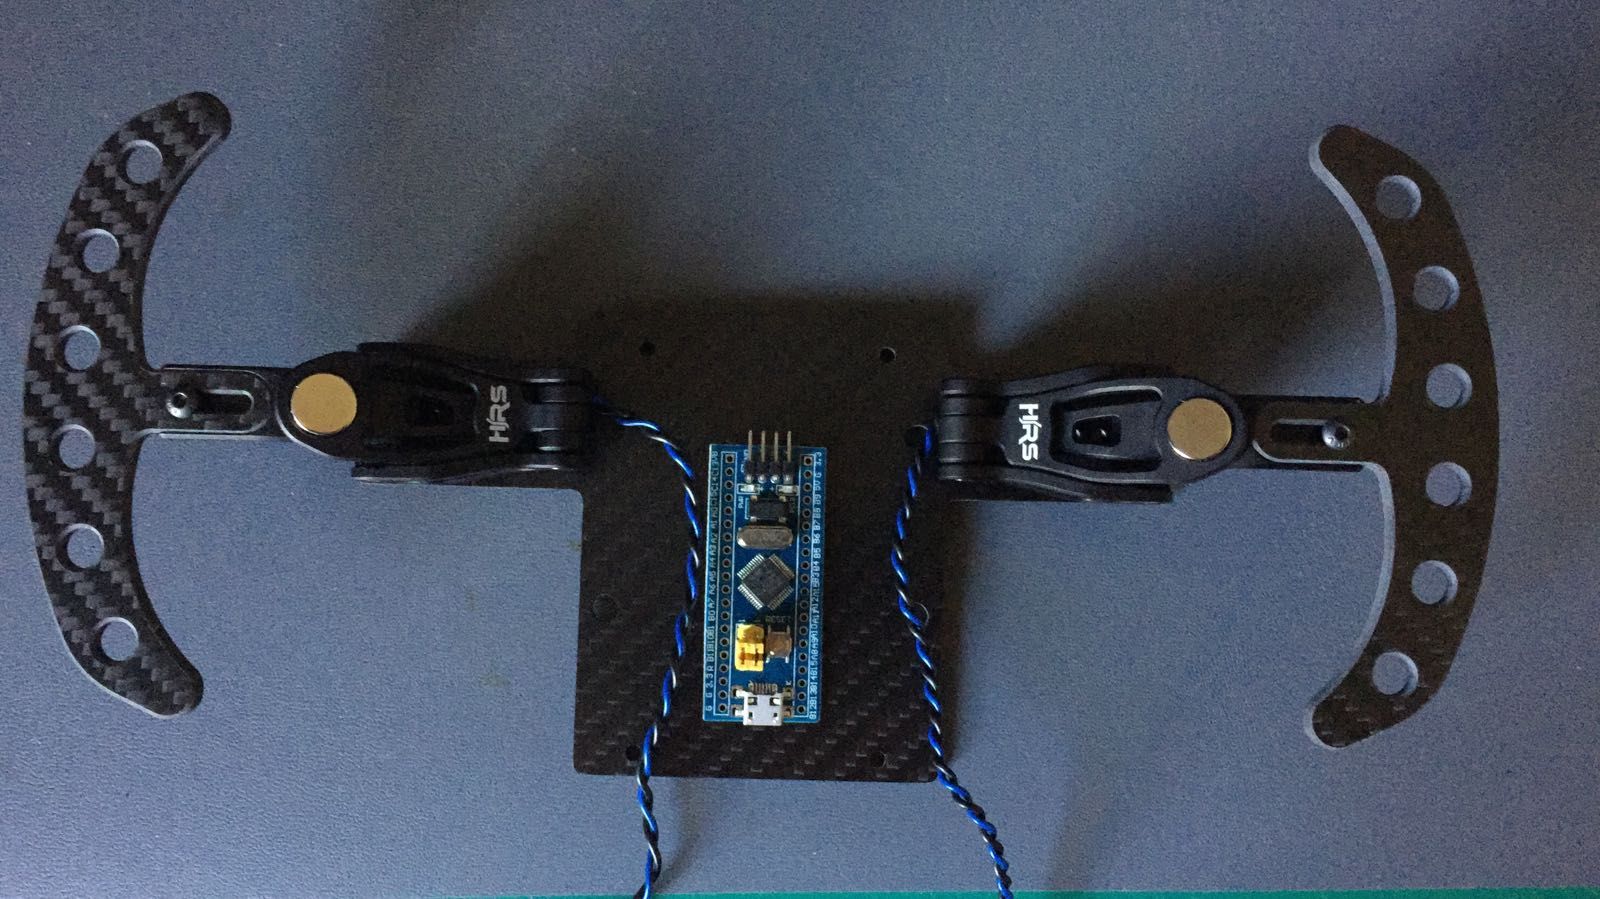
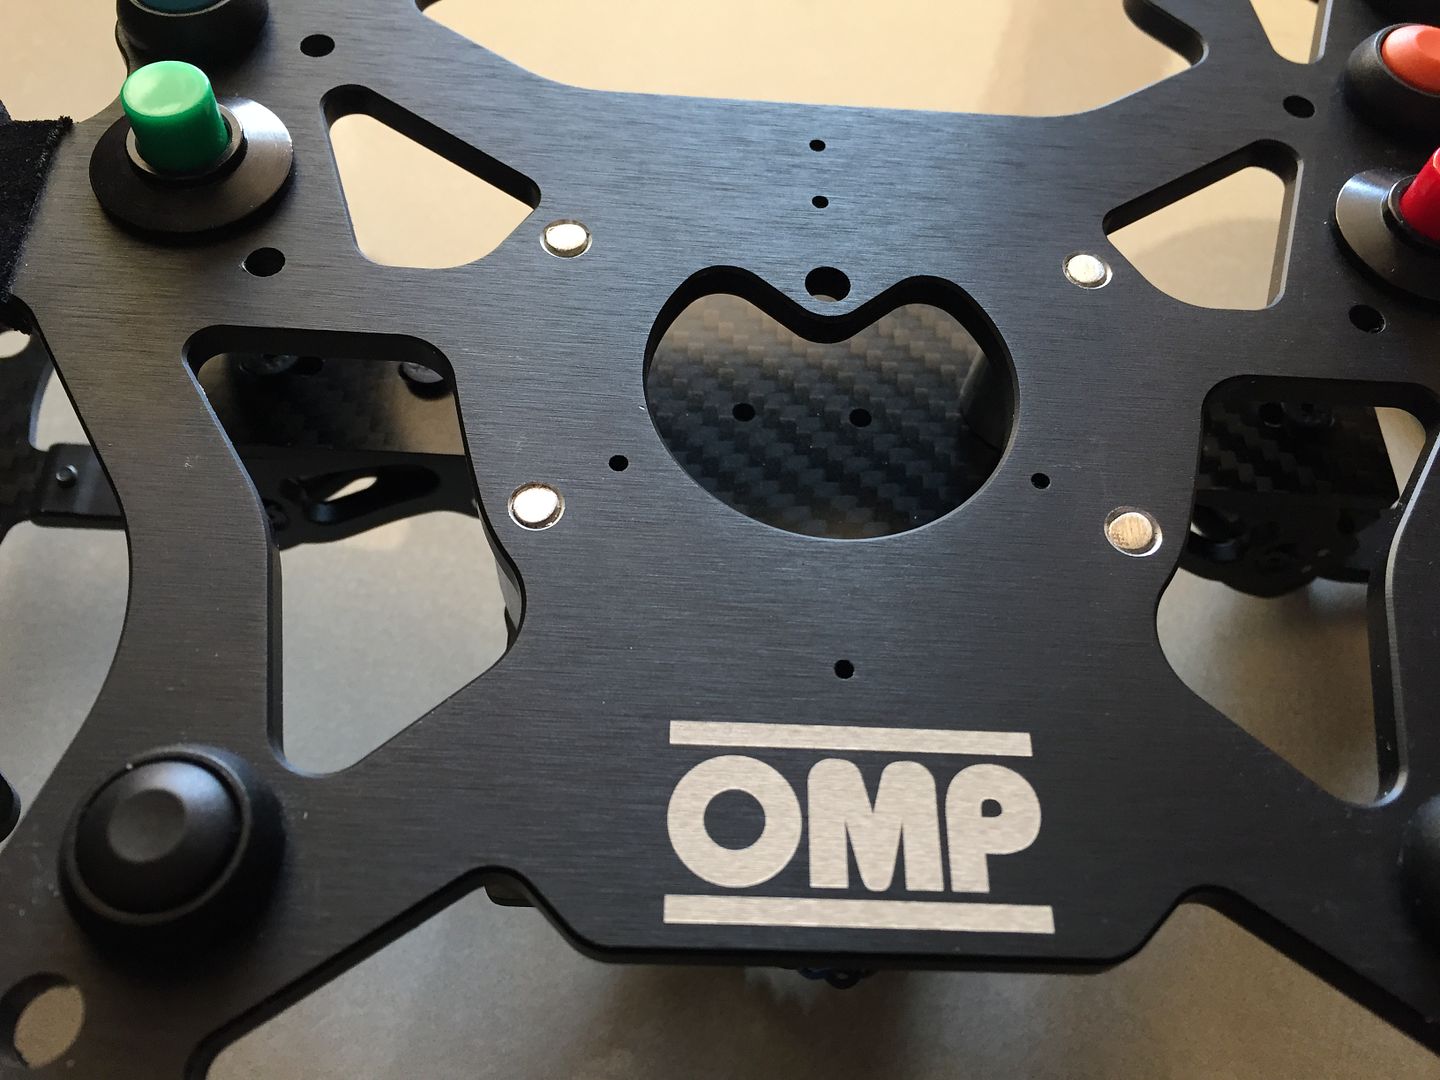
    The plate design Batman, anyone?
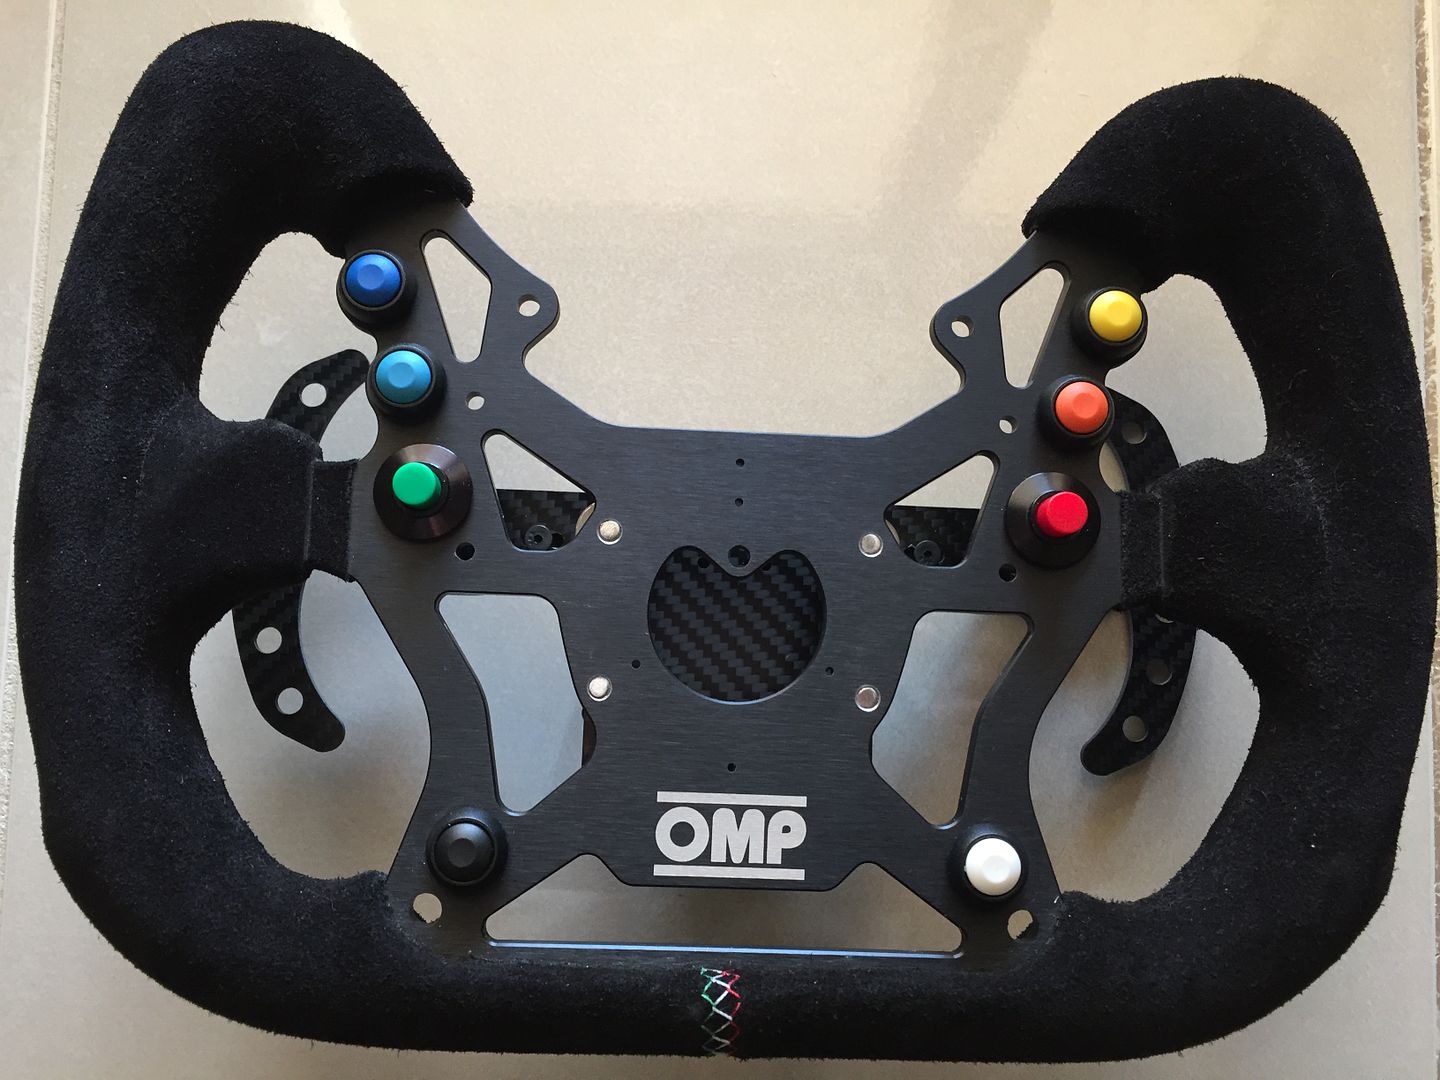

    A render example:


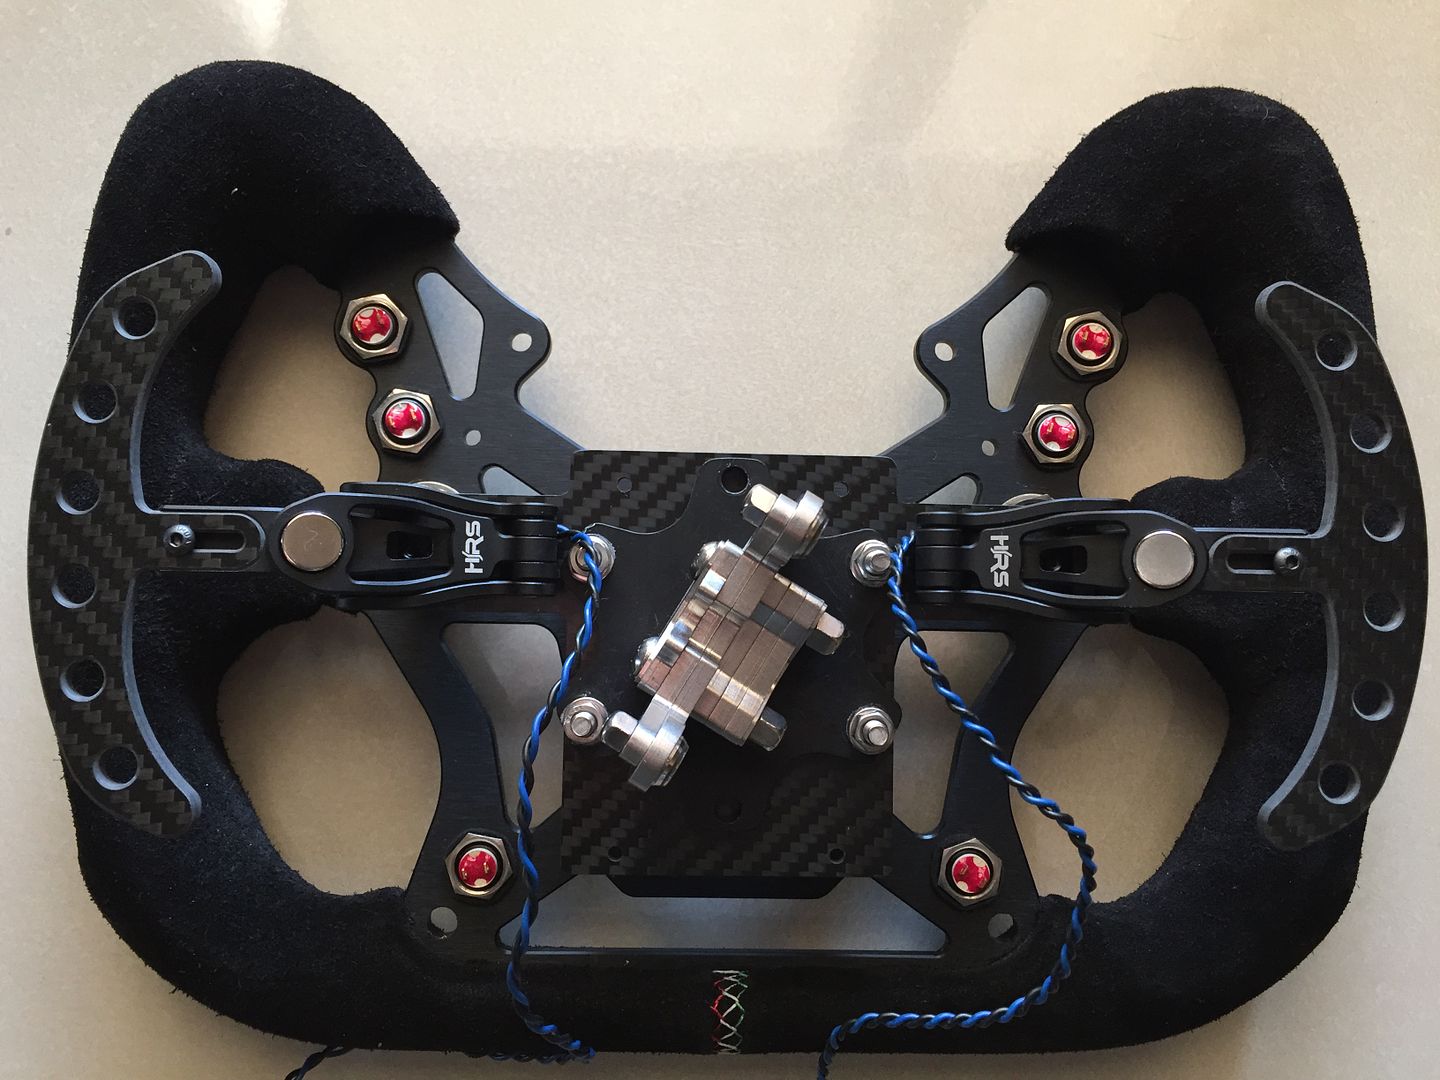
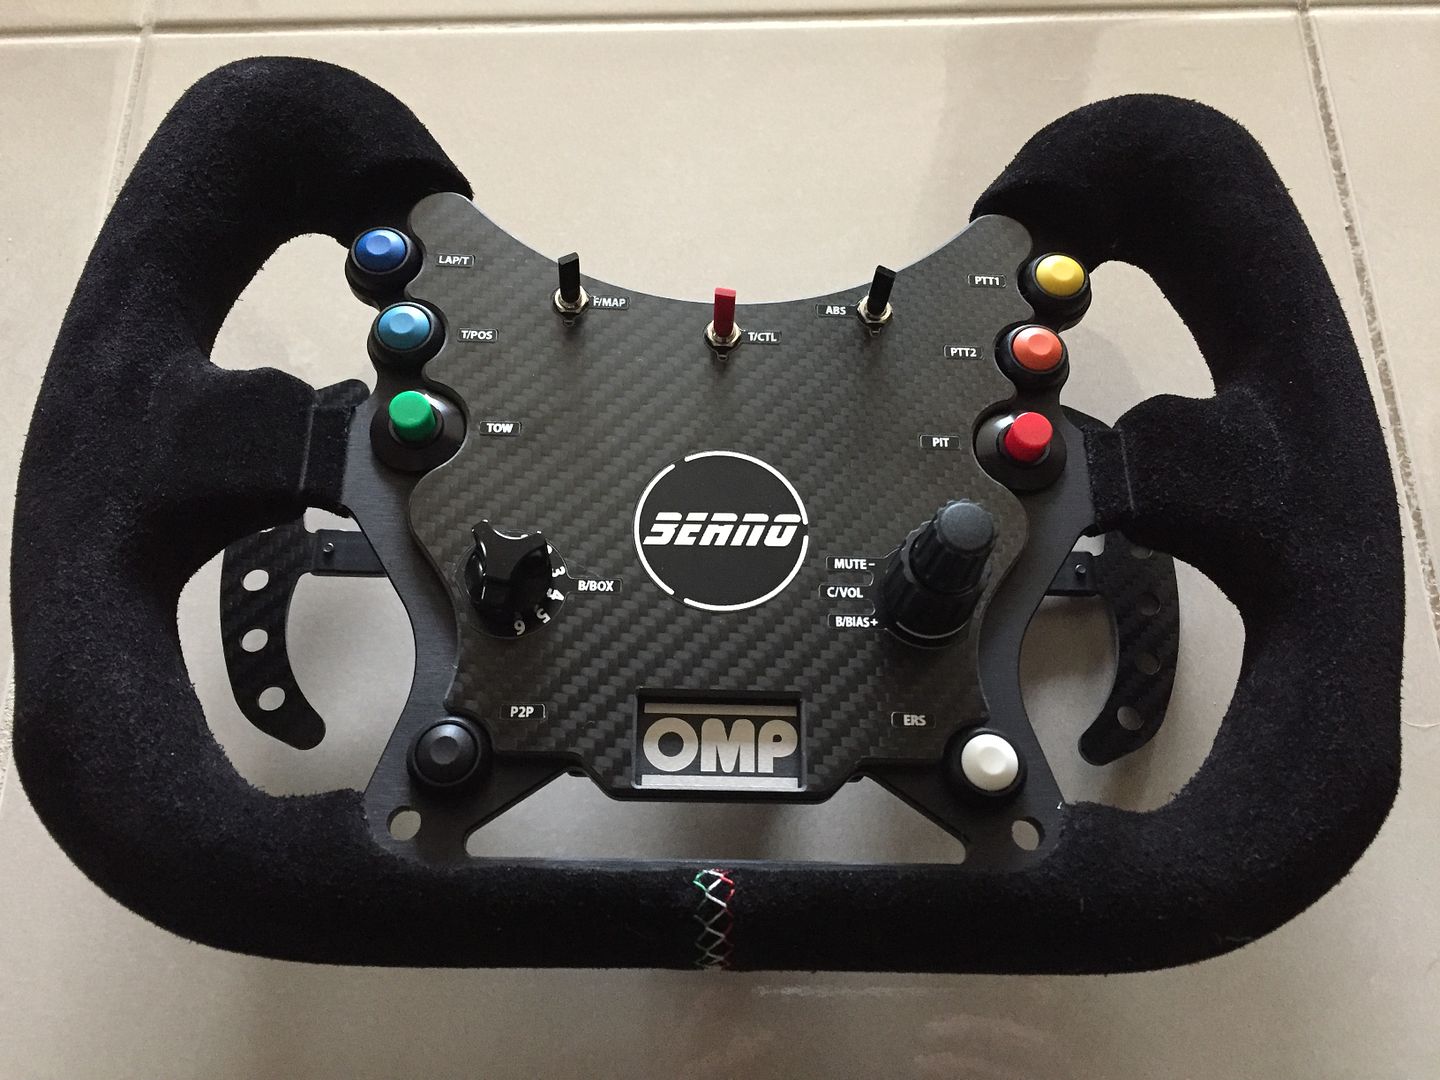
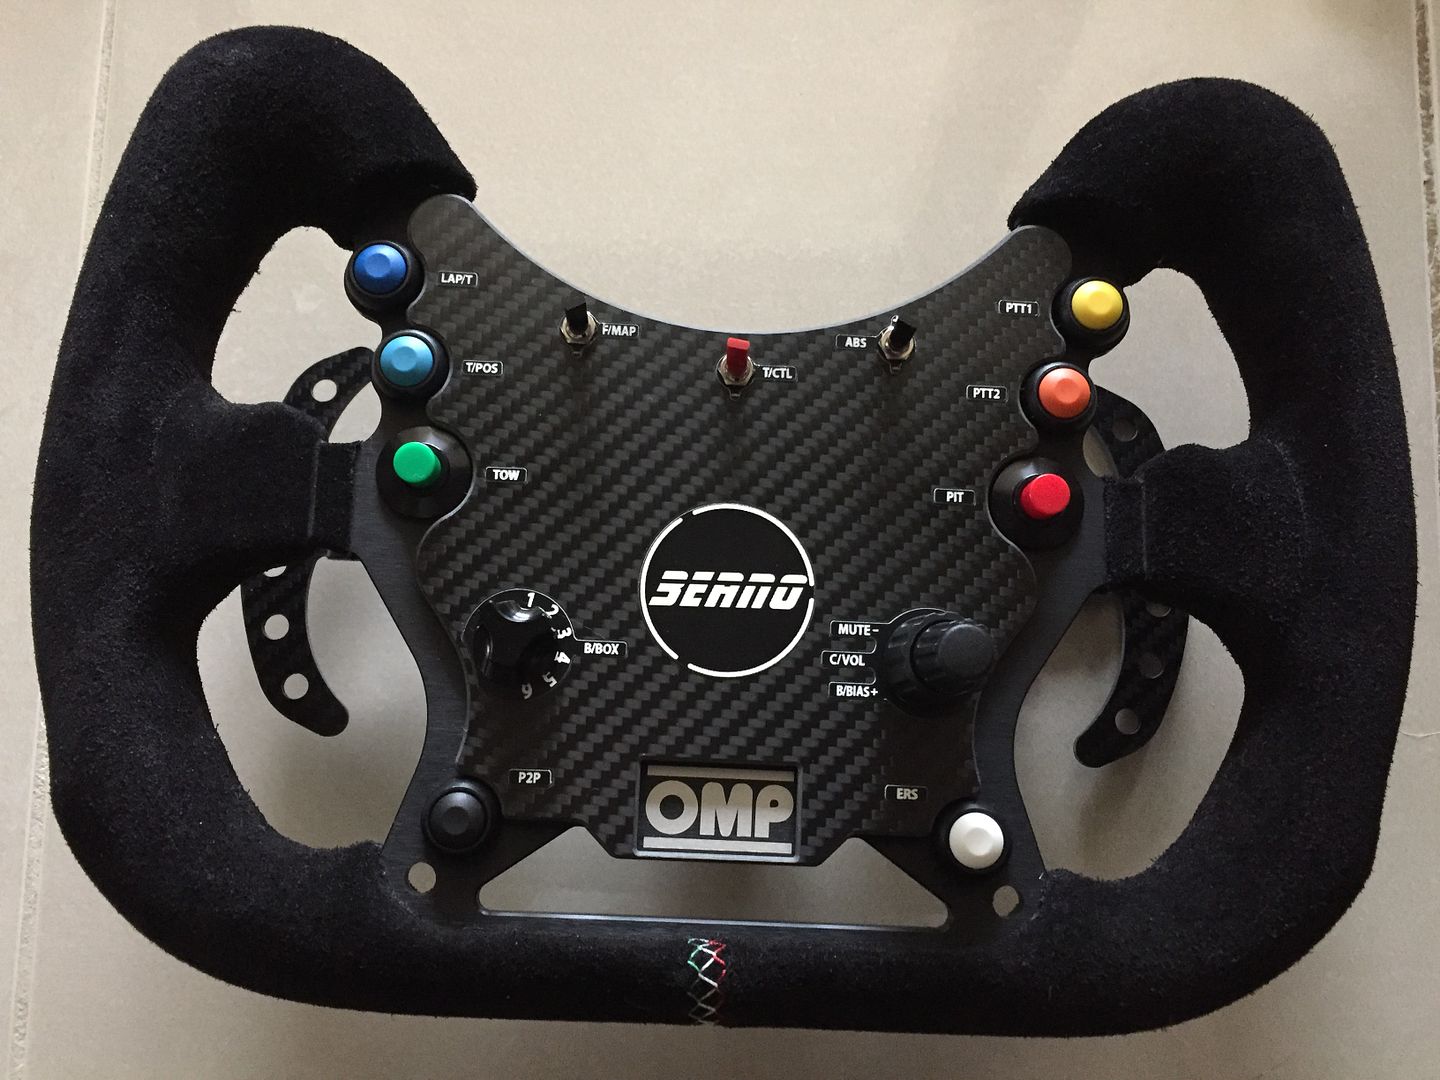
    And the final plate, I will show pictures next weekend after I receive them:


  • Very well done Beano !!

    which software are you using for creation / rendering ?

    how are made the plate ? seems to be milling / machining ?

    anyway thank you for sharing your very nice job !!

    338.png

    i5-11600K -RTX 3080 10GB - Oculus Rift S - Gametrix KW908 - CSL-DD - SFX100

  • Hey Guys,


    I have just received my plates in from Brett at HRS, and they came even better than expected. He did a fantastic job finishing them off as per my design and requirements, cannot be happier. Much appreciated!

    Here is the shifter plate that will carry the shifters, as well as cater for both the BT u-HID and Bodnar BBI32 boards. I will however, not be using any of those, rather one based on the STM32F1 controller. It is compact and powerful and have just enough inputs to cover my requirements - I think there might be one button spare, but I might use a slightly different board though, which may give me the exact amount of IO - not that extras are a problem, the other board though have 4 mounting holes ;)


    And below the button plates with custom machined pockets to receive the laser-engraved labels - these make all the difference in the final appearance I think, just rounding off the wheel to look pretty professional. Please note the plate just loosely placed ontop of the rim, don't mind the misalignment...I was in a rush to see what it would look like, but it will be properly aligned before affixing it to the rim.

    I am hoping to be running it on the weekend, need to go and get M5x55mm studs, fingers crossed I get them in time...

    Enjoy, I will post final updates quite soon now.

  • Je suis amoureux là :love2::sleurp2::inlove:

    Simulateur : SimuCube 2 Pro / Ascher Racing F28-SC et B16M-SC / Heusinkveld Silm Pedals Pro / Thrustmaster TH8A / Heusinkveld Sim Handbrake / Sim-Lab GT1 Evo / Oreca Trophy / Meta Quest 2

    PC : Zalman Z1 / Intel Core i5-7600K / Gigabyte RTX 2070 WindForce 2X / DDR4 HyperX Fury 2x8 Go

  • fingers crossed I get them in time...

    upload_2017-7-25_15-44-16.jpeg

    ► La liste de mes tutos 

    Gseat à presssion, harnais 2DOF, Simucube 1 mige normal, CSP V3, TH8RS moddé, FaM loadcell, ThroneThumper, triple 24"

    ►Les impacts de la 5G ? doc en français exposition 24H/24 à des niveaux de rayonnement RF (+20 000 satellites braquant leur faisceaux sur la terre + stations relais au sol). Si vous ne voulez pas muter à seule fin d'avoir un frigo connecté, signez la pétition

  • Starting to test-fit things to see if there are any issues, but all going pretty well at the moment - nothing unexpected and unforseen...

    The rear plate-assembly with the shifters fitted, glad I designed slots into the plate, but even so, the paddles itself provide for a good amount of adjustability:

    I wanted to stray away from the standard where one would drill holes through the button-plate to mount it....I opted for a different process here, making life easier assembling and disassembling the wheel - but also possibly looking a bit better without bolt-heads on the front? Not sure, but I like it.

    I got some 50mm stainless bolts and cut the heads off. Drilled out the pilot holes on the wheel to 4mm metric and threaded it to M5. Screwed the studs in and secured them with a washer and bolt from the back. Pretty rigid setup, happy with it.


    Then, I am using some very strong 3M high-strength industrial double-sided tape - I doubt this will ever move, I tried my best after putting it in place, and it isn't going anywhere. I quite like the look, came better than I anticipated.


    I also used a very thin 3M double sided tape, almost as thin as regular cello tape, to secure the tiny labels in their pockets. This is also pretty good, whilst still allowing me to remove them and change them out for others if I so wish...

    Below, labels fixed in place and plate secured to the wheel.


  • What remains to be done?

    Well, awaiting the delivery of a special small-sized rotary selector, from the ELMA 01-series. They are expensive, but the only thing that will fit in the available space. They should arrive next week hopefully, all good, as I will be in Indonesia anyway. So the build will continue once they arrive.

    Of course, I still have to wire the controller, and switches, but that is quick and easy.

    More to come, watch this space.

    Cheers,


    Beano

    Message modifié 1 fois, dernière modification par Beano (4 août 2017 à 00:15).

  • Next step, I had to spent an hour on the milling machine to machine a few slots and shaved a bit of material off the standoffs separating the wheel and shifter plate - why?

    Well, firstly, the button controller has to sit underneath the shifter plate.....and secondly, I have changed my mind on which controller to use for this.....the one I was going to use doesn't yet support ELMA dual encoders, so I will revert back to the trusty old Bodnar BBI-32 board, with its configurable inputs.

    It happily supports the dual encoders. I am hoping one day Leo will revise the board and make it slightly narrower, as there is room on the sides to remove 3-5mm each side - this will be enough to fit it almost anywhere. Another mod I would like to see is grounded vias on the 4 mounting holes. This is such a great controller, the above will make it even better!!

    Anyway, as mentioned, the standoffs are machined for slots as well, and the BBi-32 sits snug in those. As soon as I tighten the standoffs down, it actually wedges the board pretty tight between them, more than good enough for a secure mechanical mounting without actually needing any mounting holes. Neat, hey?

    On the weekend, I will begin wiring the switches, but I can only finish it off once I receive the ELMA rotary selectors sometime in the next 10 days.

    The obligatory progress shots:


  • Thanx Guys :)

    @ All: Was going to wire and test the wheel over the weekend before flying out to Jakarta, only to realise I had no more 24AWG Turnigy silicone wore left, only 20AWG.

    Well, that is a bit to big in dia, so instead I decided to do a semi-decent job out of this and ordered 24AWG dia from Hobby King. It should be delivered this week, as they now have a warehouse in NSW - local shipping, yeay. Just received the shipping confirmation this morning, so I guess I will be wiring it next weekend.

    More soon.

    Message modifié 1 fois, dernière modification par Beano (8 août 2017 à 05:00).

  • Thanx for looking, guys!

    @Davyn: I am using some aluminium stand-offs, and then milled some grooves to hold the pcb. (I have Vario BF46 milling machine at home) Tolerances are quite tight, so as I am bolting the standoffs down, they are squeezing/clamping the pcb just enough so it doesn't move anywhere. No mounting screws needed in this case for the BBi32 board.